Breakfast in an Indian kitchen is often a hurried affair. We rush through toast, cereal, or leftover rotis from last night. But once in a while, you want something that feels satisfying, nourishing, and genuinely delicious without spending an hour over the stove. That is exactly where paneer bhurji steps in.The Complete Guide to Paneer Bhurji for Breakfast
Why Paneer Bhurji Belongs on Your Breakfast Plate
Paneer bhurji is the Indian answer to scrambled eggs—except it is vegetarian, richer in protein, and carries the warmth of cumin, turmeric, and fresh coriander. In less than twenty minutes, you can turn a block of paneer into a crumbly, spicy, golden scramble that pairs with bread, roti, or even a simple bowl of rice. For breakfast, it keeps you full until lunch, gives you steady energy, and tastes like comfort.

This recipe is not about fancy techniques or hard-to-find ingredients. It is about making a genuinely good breakfast using things you already have in your pantry. No shortcuts that ruin the texture, no unnecessary jargon, and no pretending that cooking is harder than it is. Let me walk you through every detail, from choosing the right paneer to plating it like someone who knows what they are doing.
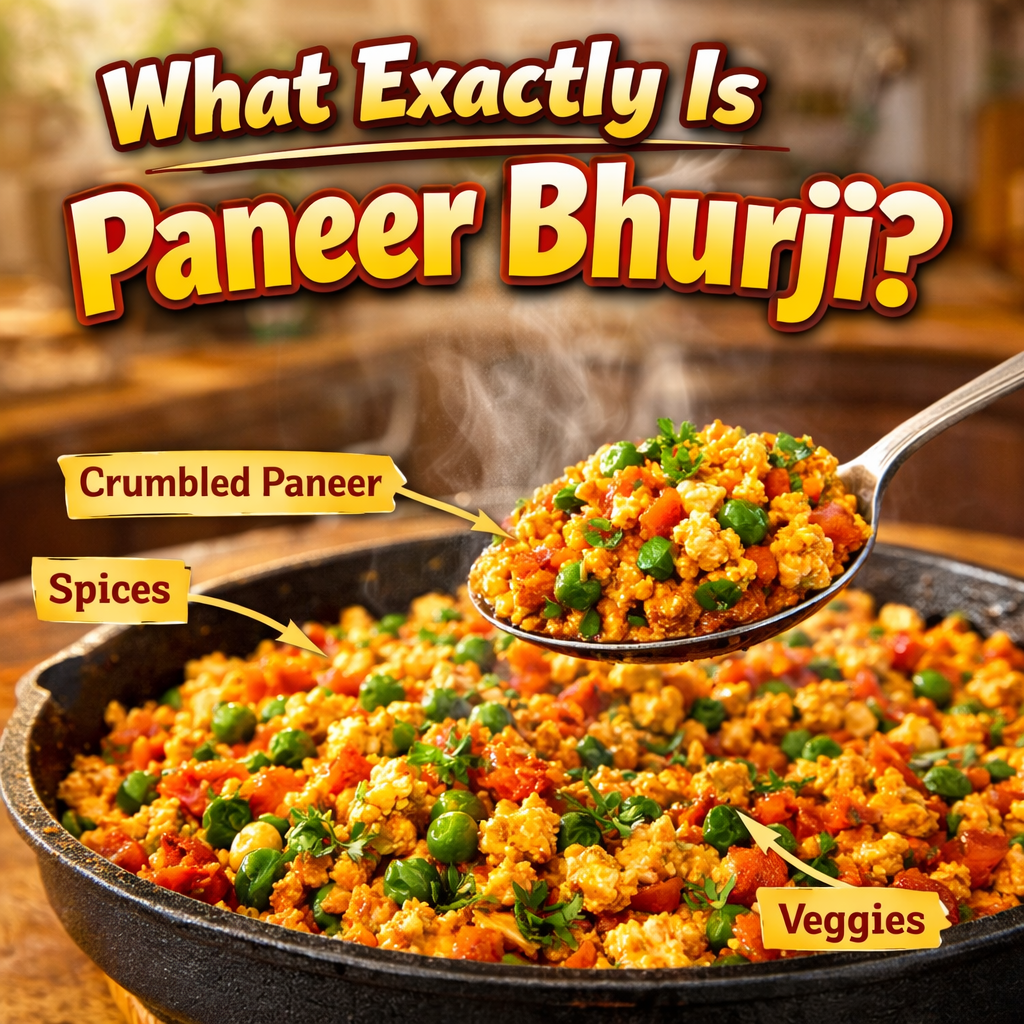
What Exactly Is Paneer Bhurji?
Before we dive into the cooking process, let us understand the dish itself. Bhurji comes from the Hindi/Urdu word bhur-na, which means to crumble or scramble. Unlike a solid paneer tikka or a heavy paneer butter masala, bhurji is loose, granular, and almost fluffy when done right.
The texture is key. You are not making a paste or a dry lump. You want small, separate crumbles of paneer that have absorbed the flavor of onions, tomatoes, and spices but still retain their milky softness. Think of it like scrambled tofu but creamier.
In North Indian homes, paneer bhurji is a go-to breakfast for days when you need something hearty. It is also a popular street food, stuffed into pav (bread rolls) and sold at evening stalls. But for breakfast, we keep it lighter on oil, skip the heavy cream, and focus on the freshness of the ingredients.
Ingredients – Measured for a Real Breakfast
This recipe serves two hungry adults or three people with average appetites. All measurements are practical, not theoretical.
Core Ingredients:
- Paneer – 200 grams (about half a standard block). Use fresh, soft paneer. If your paneer is from the refrigerator and feels hard, soak it in warm water for ten minutes before crumbling. Never use frozen paneer without thawing and pressing out excess water.
- Onion – 1 medium-sized (approx. 60–70 grams). Finely chopped. Red onion works best, but yellow or white is fine.
- Tomato – 1 small (approx. 50 grams). Finely chopped. Remove the seeds if you want a drier bhurji, but leaving them in adds moisture.
- Green chilies – 1 to 2, finely chopped. Adjust according to your spice tolerance. Remove seeds for less heat.
- Ginger-garlic paste – ½ teaspoon. This is optional but recommended. It adds depth without overpowering.
- Cumin seeds – ½ teaspoon (jeera).
- Turmeric powder – ¼ teaspoon (haldi). Do not skip this; it gives the yellow color and earthy flavor.
- Red chili powder – ¼ to ½ teaspoon. Kashmiri red chili powder gives color without too much heat.
- Garam masala – ¼ teaspoon. Add at the end, not during cooking.
- Salt – to taste (approx. ½ teaspoon or less, depending on your paneer’s salt content).
- Oil or ghee – 1 tablespoon. Ghee makes it richer, but vegetable oil or avocado oil works perfectly.
- Fresh coriander leaves – a small handful, chopped (for garnish).
- Lemon juice – 1 teaspoon (optional, for brightness).
Optional add-ins (for variety):
- Capsicum (bell pepper) – 2 tablespoons finely chopped. Adds crunch and sweetness.
- Peas – 2 tablespoons (fresh or frozen). Thaw frozen peas before adding.
- Kasuri methi (dried fenugreek leaves) – ¼ teaspoon, crushed between your palms. Gives a restaurant-like aroma.
- Butter – 1 teaspoon at the end for a glossy finish.
Step-by-Step Cooking Instructions (No Fluff)
Step 1: Prepare the Paneer
Take your 200 grams of paneer. If it is refrigerated, place it in a bowl of warm water for ten minutes. This softens it and prevents a rubbery texture. After soaking, pat it dry gently with a clean kitchen towel.
Now crumble it. Use your fingers to break it into small, uneven pieces. Do not use a food processor or grate it on a fine grater—that makes it too mushy. You want irregular crumbles, some the size of a lentil, others a bit larger. Set aside in a bowl.
Step 2: Chop the Vegetables
Finely chop the onion. By finely, I mean pieces about the size of a small pea. Larger onion chunks will not cook fast enough and will remain raw-tasting.
Chop the tomato just as finely. If your tomato is very juicy, gently squeeze out some of the seeds and liquid before chopping. This prevents the bhurji from becoming watery.
Chop the green chilies. If you are cooking for children or someone sensitive to spice, slit the chili and add it whole, then remove it before serving. But for a typical breakfast, finely chopped is best.
Keep everything separate because they go into the pan at different times.
Step 3: Start the Tadka (Tempering)
Place a heavy-bottomed pan or a non-stick skillet on medium heat. Add one tablespoon of oil or ghee. Let it warm up for thirty seconds—not smoking hot, just shimmering.
Add the cumin seeds. They will sizzle and darken slightly within ten seconds. Do not let them burn. Burnt cumin turns bitter and ruins the dish.
Immediately add the finely chopped onion and green chilies. Stir well. The goal here is not deep browning but a soft, translucent look. Onions should take about two to three minutes on medium heat. Stir occasionally so they cook evenly.
Step 4: Add Ginger-Garlic and Spices
Once the onions look soft and have lost their raw edge, add the ginger-garlic paste. Stir continuously for thirty seconds. The raw smell of ginger and garlic will fade, and you will notice a sweet, nutty aroma.
Now lower the heat slightly. Add turmeric powder and red chili powder. Stir for twenty seconds. This is important—dry spices need a brief frying in oil to release their flavors. Do not skip this step or add them later with water.
Step 5: Cook the Tomatoes
Add the finely chopped tomatoes. Increase the heat to medium-high. Stir well to combine with the onion-spice mixture.
Cook the tomatoes until they become soft and start breaking down. This takes about two to three minutes. You will see the mixture turning mushy, and oil will begin to separate at the edges of the pan. That is your sign that the masala base is ready.
If you are using capsicum or peas, add them now along with the tomatoes. Capsicum needs a minute of cooking to soften slightly but still retain crunch.
Step 6: Add the Crumble Paneer
Turn the heat to low. Add the crumbled paneer gently. Do not dump it all in one heap and then mash it. Sprinkle it evenly over the masala.
Using a spatula, fold the paneer into the masala. The motion should be gentle—lift and turn, not press and smash. You want the paneer crumbles to stay separate and coat with the masala, not turn into a paste.
Cook on low heat for two to three minutes. Stir occasionally but gently. The paneer just needs to warm through and absorb the flavors. Overcooking will make it chewy and dry.
Step 7: Final Seasoning and Garnish
Turn off the heat. Sprinkle garam masala and salt. Stir once lightly.
Add the fresh coriander leaves. Squeeze the lemon juice over the top if you like a tangy finish. Some people also add a tiny pat of butter at this stage for a silky texture.
Taste a small pinch. Adjust salt if needed. Remember that paneer often has its own salt, so go easy at first.
Serve immediately while it is hot and fluffy.
How to Serve Paneer Bhurji for Breakfast
Paneer bhurji is wonderfully flexible. Here are five classic and practical ways to eat it in the morning.
1. With Toasted Bread
Lightly toast two slices of whole wheat or sourdough bread. Butter them. Pile a generous amount of bhurji on top. Eat with a fork or as an open sandwich. For a more substantial meal, make a bhurji sandwich by pressing between two slices with a little cheese.
2. With Roti or Paratha
Warm a plain roti or a leftover paratha. Roll it up with bhurji inside like a wrap. This is a great on-the-go breakfast. You can also tear off pieces of roti and scoop up the bhurji directly.
3. With Pav (Indian Dinner Rolls)
If you live near an Indian bakery or have access to pav, slice the pav horizontally, toast the insides with a little butter, and stuff generously with bhurji. This is essentially the famous “bhurji pav” street food.
4. With Rice
For a heavier breakfast, serve bhurji with a small bowl of steamed rice and a drizzle of ghee. This is more common in parts of central India where breakfast is often rice-based.
5. As a Stuffed Omelette Filling
This one is for non-vegetarians or creative cooks. Make a plain egg omelette, place a thin layer of bhurji in the center, fold over, and cook for another thirty seconds. You get a protein explosion.
Pro Tips from a Home Kitchen
These are not fancy chef secrets. These are things I have learned by making paneer bhurji hundreds of times, sometimes perfect, sometimes messy.
Tip 1: Do not grate the paneer. Grating produces uniform, powdery crumbs that turn into a pasty texture when cooked. Hand-crumbling leaves air pockets and keeps the bhurji light.
Tip 2: Control the moisture. If your tomatoes are too juicy, your bhurji will become wet and mushy. The fix: after adding tomatoes, cook on high heat for a minute to evaporate excess water before adding paneer.
Tip 3: Low heat for paneer. Once paneer goes in, keep the heat low. High heat squeezes out the moisture from paneer, leaving it dry and squeaky.
Tip 4: Add salt at the end. Salt draws out water. If you add it to the tomatoes early, they release too much liquid. Salt only after turning off the heat.
Tip 5: Reviving leftover bhurji. Leftover paneer bhurji tends to dry out. To reheat, sprinkle a teaspoon of milk or water, cover with a lid, and warm on low heat for a minute. It brings back the softness.
Nutritional Value (Per Serving)
This is for one serving out of two, using the basic recipe without extra butter or cream.
- Calories: ~320 kcal
- Protein: 16 grams
- Fat: 22 grams (mostly from paneer and oil/ghee)
- Carbohydrates: 10 grams
- Fiber: 2 grams
Paneer bhurji is a high-protein, low-carb breakfast option if you skip the bread. The fat content is moderate and comes from dairy and cooking oil. For a lighter version, use low-fat paneer and reduce oil to half a tablespoon. The taste will change slightly—less richness—but it will still be good.
Variations to Keep Breakfast Interesting
Once you master the basic recipe, try these twists.
Paneer Bhurji with Spinach (Palak Paneer Bhurji)
After cooking the tomatoes, add two tablespoons of finely chopped spinach. Cook for a minute until the spinach wilts, then add paneer. This adds iron and a mild earthy flavor.
Spicy Paneer Bhurji for Heat Lovers
Add one finely chopped serrano pepper along with the green chilies. Also, add ¼ teaspoon of black pepper powder at the end. Garnish with a few drops of hot sauce.
Creamy Paneer Bhurji
After turning off the heat, stir in two tablespoons of fresh cream or thick yogurt. Do not cook after adding cream, or it will split. This gives a rich, restaurant-style bhurji best served with pav.
Jain Paneer Bhurji (No Onion, No Garlic)
Skip onion and ginger-garlic paste. Instead, use asafoetida (hing) – a pinch added with the cumin seeds. Increase tomato quantity to one medium tomato. Add a little grated carrot for sweetness. The flavor profile is different but still delicious.
Common Mistakes and How to Avoid Them
Even a simple dish like paneer bhurji can go wrong. Here is what to watch for.
Mistake 1: Bhurji turns out dry and crumbly like sawdust.
Fix: You overcooked the paneer or used paneer that was already hard. Soak hard paneer in warm milk for fifteen minutes next time, and cook on low heat for only two minutes.
Mistake 2: Bhurji is too watery and tastes bland.
Fix: You added too many tomatoes or didn’t cook them enough. Cook the tomato masala until the oil separates clearly before adding paneer.
Mistake 3: Raw spice taste.
Fix: You skipped frying the turmeric and red chili powder in oil. Always add dry spices to the oil before adding tomatoes or paneer.
Mistake 4: Paneer breaks into a paste.
Fix: You stirred too aggressively or used a heavy hand. Fold gently with a wide spatula. Also, avoid using a whisk or potato masher.
Storage and Meal Prep Advice
Paneer bhurji is not the best dish for making days in advance because the texture degrades. However, you can prep the components ahead.
- Refrigerator: Cooked bhurji stays good in an airtight container for up to two days. Reheat as described above.
- Freezer: Not recommended. Frozen and thawed paneer becomes crumbly in a bad way – dry and chalky.
- Meal prep option: Crumble the paneer and store in a container. Chop onions, tomatoes, and chilies and keep in separate containers. In the morning, you just need to sauté and combine. This takes your active cooking time down to seven minutes.
Why This Recipe Works for Breakfast Specifically
Breakfast needs to be fast, filling, and not too heavy. Paneer bhurji hits all three.
- Fast: Fifteen minutes from chopping to serving. Faster than making dosa or puri.
- Filling: Paneer is casein protein, which digests slowly and keeps hunger away for four to five hours.
- Not heavy: Unlike a creamy curry or fried paratha, bhurji is light on the stomach because there is no large quantity of gravy or oil.
- Customizable for macros: Low-carb? Skip bread. High-protein? Add an extra 50 grams of paneer. Keto? Use ghee and add a spoon of coconut oil.
A Note on Sourcing Paneer
If you can make paneer at home from full-fat milk, that will always be better than store-bought. But not everyone has the time or patience. When buying paneer from a store:
- Look for a brand that lists only milk, salt, and citric acid – no starches or preservatives.
- Check the expiry date. Fresher paneer is softer.
- Avoid “low-fat” paneer for this recipe. It does not crumble well and turns leathery.
If you are in a region where paneer is expensive, you can substitute with firm tofu (pressed for thirty minutes). The taste is different, but the texture works surprisingly well.
Final Thoughts
Paneer bhurji is not a fancy dish. It does not require a tandoor, a spice grinder, or any technique beyond basic chopping and stirring. But when made with care—soft paneer, properly cooked masala, and a gentle hand—it becomes one of the most satisfying breakfasts you can eat.
Try it once on a lazy Sunday morning. Do not rush. Chop your onions evenly. Let the cumin seeds sizzle. Watch the tomatoes melt into the oil. Then fold in that golden crumbled paneer and see how something so simple can taste so good.
Serve it hot. Eat it with your hands if you want. Breakfast should be enjoyable, not perfect.
Now go make it. And if you end up adding your own twist—maybe a little extra coriander, a pinch of chaat masala, or a side of pickled chilies—that is even better. That is how home cooking works.